Showing posts with label easy dinners. Show all posts

Friday, January 13, 2012

Miso Tofu


The other day I saw a recipe for Grilled Tofu Salad with Miso Dressing on Steamy Kitchen. It looked delicious, so I gave it a try. But of course, I didn't really follow the recipe. Not exactly anyway.

Here's what I did:
-Slice a block of extra firm tofu into about 7-8 slices. Press them between dish towels to get out some of the moisture.
-In a small bowl, I mixed:
  • 4 tsp miso paste
  • dash of soy sauce
  • 1 tbsp mirin
  • 1tbsp rice vinegar
  • juice of 1/2 lime
  • juice of 1/2 orange
  • 2 tbsp honey
  • 2 tbsp warm water
  • dash of sriracha 
-Then I put the dish in the microwave for 20 seconds to warm it all up - it needs to be warm to dissolve the miso and honey.
-Season to taste and then pour half over the tofu.
-I broiled the tofu for about 7 min/side, but you could fry or grill it too.
-For the salad, I just made a basic salad. But I added the juice from the second half of the orange and little sesame oil to the remaining marinade to convert it to salad dressing.

Thursday, December 8, 2011

BBQ Beef - Holiday Party Perfection

The season of frolicking is upon us. As I have written about before, we really get into the Christmas spirit here. Decorating, eating, drinking, hanging out with family and friends - all of which we lump into the general term "frolicking." Last weekend the frolicking began in earnest when we hosted both of our families over for tree trimming and dinner. I have been known to go a little overboard when guests are eating with us (see Vegan Dumplings post of late), but in the holidays I do my best not to make things overly complicated.

To that end, I am all about the slow cooker for parties. For this event, I made bbq beef. In a couple of weeks I will pull out the slow cooker again so Dave can make his famous pulled pork. Pulled meats are the best for parties: they are almost entirely hands off in terms of preparation; they taste delicious; they look impressive (ie people will have a totally unrealistic view of your work ethic).

Here is what I did for the beef:
-I used a chuck roast, a rump roast and a round roast. Yes, I was also cleaning out my freezer. I am not sure about the weight of all this beef but I am going to say it was quite a bit.
-Chop up one large onion, a few cloves of garlic and toss into the slow cooker.
-Salt and pepper the meat and throw it in.
-Pour in one bottle of dark beer. We used Magic Hat Howl which was yummy by itself as well.
-In a small mixing bowl I combined a can of tomato sauce, 1 cup brown sugar, scant 1/4 cup mustard, a few dashes of Worcestershire sauce, chili powder, garlic powder and some cumin. Basically, I made a raw bbq sauce.
-Dump the sauce over the meat. Turn the cooker to high and go do something productive/unproductive. I stuffed so much meat in the cooker, it took almost 7 hrs on high. Just check on it every hour or so. You want it all to fall off the bone.
-When the meat is done, take it out and shred it up. Pour out the liquid in the cooker, but reserve some in case your meat gets dry later. Return the meat to the cooker and stir in about a cup of bbq sauce. Add enough sauce to get the taste and moistness that suits you.

We served this up with coleslaw on little dinner rolls that I got from Costco. I have been known to make my own rolls, too, but I was feeling sane this time so I went with store-bought. A good decision because they were delicious. An ideal holiday party meal.

Thursday, November 17, 2011

Peanut Butter Noodles

I was perusing Dinner a Love Story, one on my favorite blogs, and Jenny mentioned that the recipe for peanut butter noodles was one of the most often viewed on her site. Considering that I check out her blog pretty much every day, I wasn't sure how I missed that recipe. Not only did I read it, I made it last night. Fabulous.

A few notes on the recipe:
-I found that 2/3 cup water was a little too much, so I just added a little more peanut butter.
-I also added a splash of mirin. If you like cooking food with Asian flavors, Mirin is a great thing to have in your pantry.  Mirin is Japanese sweet rice wine, though Kikkoman labels it as "Sweet Rice Seasoning" which is pretty accurate. I first learned about mirin when I was working in New York and one of my coworkers told me that, "Mirin is the thing that makes Asian dressings taste, well, Asian." She was right. Like the carrot-ginger salad dressing that comes with your pre-sushi salad? It probably has mirin in it as a sweetener. Enough about mirin. Get some. It's great stuff.
-This recipe makes a pretty good sized batch of sauce. Plenty for two meals.
-Sadly, this recipe did not have the magical effect described in the post -- my kids didn't really like it. Dave and I thought it was phenomenal, however, which makes it a success in my book.

Wednesday, August 3, 2011

Freshest Fish

One of the best things about visiting Cape Cod last weekend was having access to amazing fresh fish. My amazing friend and host, Ellie, is also an amazing cook, so I was happy to let her prepare fish dinners both nights.

The first night we had Striper, aka Striped Bass, that had been pulled out of the ocean within 24 hours of purchase. Ellie placed the fillet in a tin foil packet, doused it with some white wine, salt, pepper, lemon and thyme and basil from the deck garden and let it steam on the grill. Oh my goodness! It was some of the best fish I have ever had.


Let me note, that my bar for Striper is pretty high as my father in law catches quite a bit of it in Avalon, NJ. But something about being on vacation, seeing the pier where the fish come in, having a dear friend do the cooking, made this fish dinner particularly wonderful.


Oh yeah, we also got lobster rolls for lunch. Unbelievably delicious.

Thank you, Ellie, for being a gracious and generous hostess last weekend. And thanks, too, for the over 20 years of enduring friendship. You are the best.

Tuesday, July 19, 2011

Super Salads

I have been all about the dinner salads recently. Even though I vastly prefer someone else to make a salad for me (it just tastes better that way), my desire for something cool, nutritious and satisfying overrides my distaste for making my own salad. And though I have a tendency to get in to a rut when it comes to salad making, I surprised myself recently with some new, and delicious, creations. Here is one that was especially good.

Salad "recipes" always seem silly to me, so I will just give the gist of what I did.

Mediterranean Salad
-Assemble whatever greens and additional veggies you like on your salad. I used some chopped cucumbers, red pepper, tomatoes.


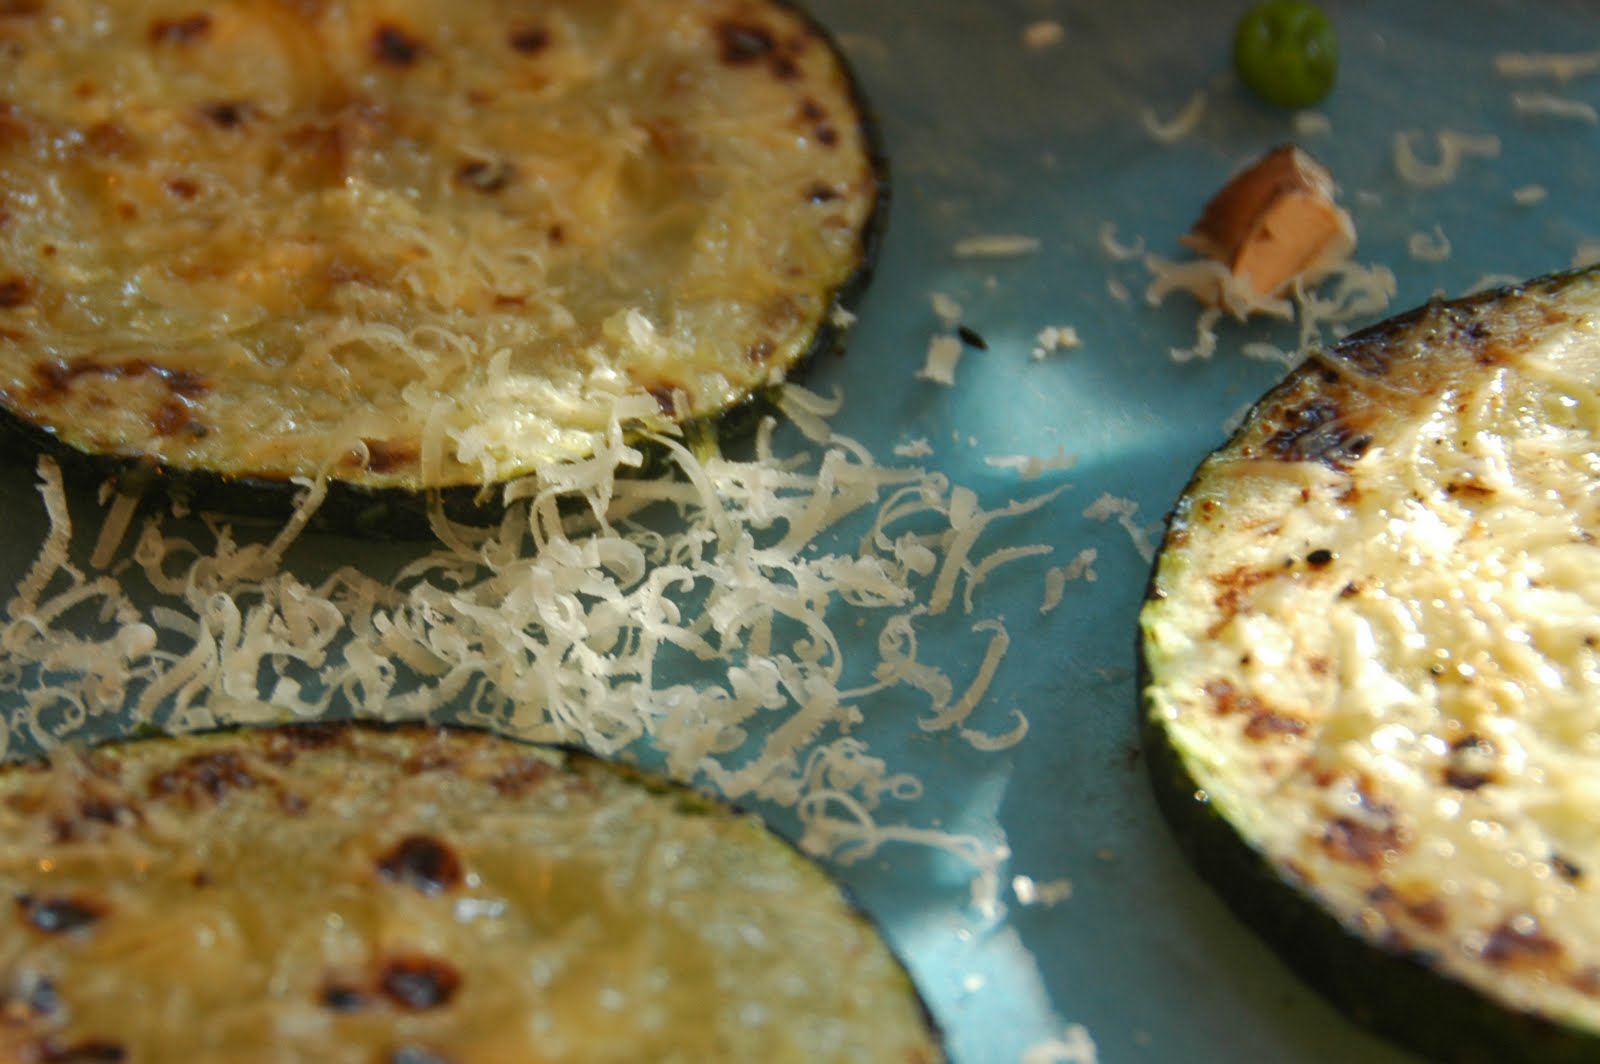
-In a frying pan saute some mushrooms and sliced onions until they soften. Then add some zucchini slices to the pan and fry them up with olive oil, salt and pepper. (Our garden produced a huge zucchini, and I have been using it in pieces for over a week.)


-Take the zucchini out and sprinkle some grated Parmesan on top. Don't skimp. Don't wait until the rounds get cold or the Parm wont get melty and extra delicious. Cut up the zucchini to a size that suits you.

-Add the grilled veggies to your salad and dress with oil and balsamic vinegar. I also added some diced fresh mozzarella and some chicken tossed in pesto.


Yep, I put more grated Parmesan on top. I didn't say it was a "lite" salad, I just said it was yummy.

Pesto Pizza - On the Grill


It is hardly news that this summer has been fracking hot. Even though my house has central AC, I am loath to heat up my kitchen with the oven unless there is a really compelling reason. Normally, making pizza would fall into this "compelling reason" category. But last year, I finally learned to make pizza on the grill, and now pizza is in our summer dinner repertoire. Yay!

If you have a grill and some pizza dough, give this a try. Super easy.

-Heat your grill on high. My lamo grill thermometer, which may be entirely inaccurate, says that high is 400ish.
-While the grill is heating up, roll out your pizza dough and assemble your toppings on a plate to bring out to the grill. This is key: pizza on the grill is quick, so you need to be ready to go all at once.
-Slide the dough onto the grill and close it up. Let it cook for 3-4 minutes. Take a peak. If it has firmed up and getting grill marks, use tongs and flip it over.
-Quickly put your toppings on and close up the grill again. Wait another 3 minutes or so. Peak. Melty cheese? Browning crust? You are good to go. Pull it off and let it cool for a few minutes before you serve it.

Last week I used the grill method to make a delicious pesto, chicken and fresh mozzarella pizza. It rocked.


The beauty of using the grill, in addition to preventing your kitchen from becoming a sweat lodge, is that you can easily grill vegetables to adorn your lovely pizza. I grilled up onions and zucchinni for this one, though the zucchini ended up being a side dish.


Also, if your children, for reasons unfathomable, reject pizza as a dinner option, use some of the extra dough to make grilled pita. Just roll it super thin, toss it on the grill and don't flip it. It will make a super cool bubble for your kids to pop.

Thursday, May 26, 2011

Power of the Pancake

Last year when Jamie was still mastering the art of eating solid food, we went through a phase where he would eat just about anything...if it was in a pancake. Who can really blame him? Pancakes are awesome. They can be sweet or savory. Obviously, they are a fabulous way to start the day, but they are just as good for lunch and brinner. And pancakes are just plain fun to make, especially with kids. These days when we have a pancake meal, I am flanked by Kara and Jamie for the whole cooking process. Even when they are fussing over who gets to stir or who can add the blueberries, I love every minute of it.

A box of pancake mix is great to have around. I am a big fan of Bisquick and the Trader Joe's multigrain mix. But if you find yourself out of pre-made mix, there is a 90% chance you have everything you need to make pancake batter right in your pantry. Here is Mark Bittman's recipe for basic pancakes. This is the one I use on a pretty regular basis. It makes a lot of batter; I almost always have leftover for another pancake meal. This is also a really flexible recipe. You can add more or less milk to get the thickness you like. You can easily add wheat flour, oat flour or other whole grains. If you like a tangy pancake, use some yogurt or buttermilk in place of the milk and substitute 1 tsp of baking soda for the baking powder.

Dave likes his pancakes straight up. Kara and Jamie love blueberry pancakes the best. Somehow I made it almost to 40 without putting it together that frozen blueberries work just fine in all manner of baked goods. I recommend keeping a bag in your freezer for the Saturday morning when nothing less than a stack of pancakes will do.


I don't think I have ever met a pancake product that I didn't like. However, one of my most favorite ways to have pancakes is to add corn, a little cornmeal, chopped green onion, garlic and chili powder to make a corn fritter of sorts. Serve them sour cream and salsa. A weeknight winner.


Kara, mouth full of pancake, pronounces them "delicious." (More on the hair accessory next week...)

Thursday, May 19, 2011

No Fear Fish

Did you know that Trader Joe's sells frozen fish? Probably. I knew they did too, but I had sort of forgotten until recently when I was lamenting the fact that we don't eat enough fish around here. There are several reasons for this gap in our diet. First, fish can be kind of pricey. Second, my kids generally wont eat it. Third, I feel daunted by the task of purchasing sustainably caught fish.

I can't do anything about the first two factors, but I can try to be an educated consumer. To that end, I printed out the Monterey Bay Aquarium's pocket size Seafood Recommendation Guide. They also have this guide as an app for iphones or Android phones which I will have to purchase when I invariably lose the paper version of this guide.

Consulting my little guide, I was able to choose some lovely Haddock in the freezer section of TJ's. I still felt the need to grill the manager about how TJ's acquires their fish, however. She was super friendly and assured me that they do their best to only purchase sustainably raised fish etc. I hope she was for real. But if not, I had my handy dandy guide to help me make a good choice without having to rely on the manager's knowledge and/or integrity.

Once I had my Haddock, it was simply a matter of  defrosting it in the fridge during the day and sauteing it up with a little butter, lemon, salt and pepper. I served it with the remainder of our Cilantro Lime Sauce. This combo would be great for fish tacos too.

Wednesday, May 4, 2011

Cilantro Lime Sauce

A couple of weeks ago Josh sent me this link to a recipe his mom had made to great success. Basically, it's just roasted potato wedges. But the sauce...oh how delicious. You can read the Epicurious version on the link, but let me give you this shortcut.

-In a small bowl mix a blob of mayo, and equally big blob of sour cream. Chop up some fresh cilantro and throw it in. Get out a lime, cut it in half and zest the half. Squeeze the juice of the zested lime in the bowl too. Salt, pepper, garlic powder, chili pepper. Stir. Dip.

This was so good on the potatoes. Also on chicken. Also on my salad the next day. Seriously yummy.

Thursday, April 28, 2011

Pork Ragu Improvisation

As I continue to make my way through the winter meat order, I have been searching for new ways to use the beef chuck roasts and pork shoulders of which we have an abundance. I was thrilled to find this amazing recipe by Andy on Dinner A Love Story for Pork Ragu. The idea is that you braise a pork shoulder in tomatoes and red wine, shred the meat and serve over pasta. This dish is so easy to make, so delicious, and it turns out so easy to riff off of to make another yummy meal.

The first time I made this dish I followed Andy's recipe to the letter. But after I removed the meat and shredded it up, I was concerned that there wasn't enough sauce for the six other people who were joining us for dinner. So chopped up some peppers, mushrooms and onions and added them plus another 2 cups or so of diced tomatoes and some more wine to the pot. The result: a rich and hearty sauce to go with the tender pork and pasta. It was amazingly delicious.


When I made this dish last week, I tried it a different way to see if I could achieve a similar result with fewer steps. Turns out, I could and I did. Here is the new and adjusted recipe for a more veggie filled pork ragu.

-Preheat the oven to 325.
-Pat dry a 3lb or so pork shoulder (also called Boston butt) and cover with salt and pepper.
-Chop up one large onion, 2 bell peppers, 3 carrots, 3 stalks of celery and a good handful of mushrooms.
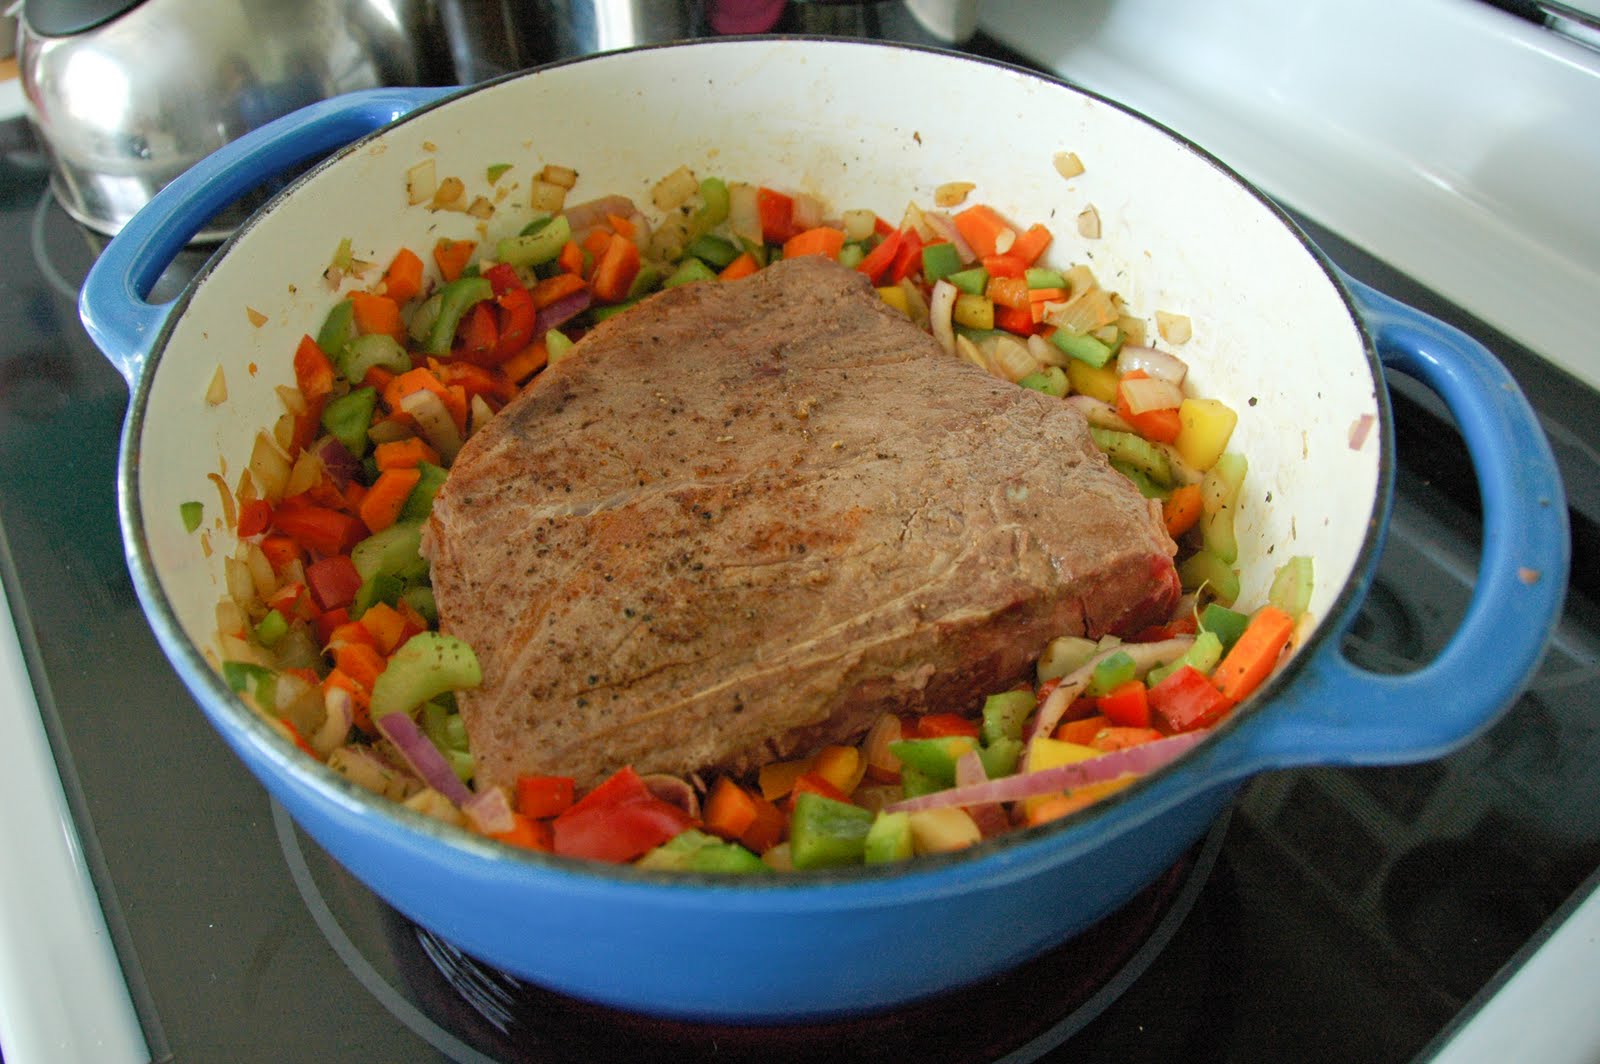
-Heat a large Dutch oven on the stove and cover bottom with olive oil and one good pat of butter. Sear the pork on all sides.
-Remove meat and set aside.
-Add all of the chopped veggies except the mushrooms to the pot and saute for a few minutes. Add about a cup of red wine. (A healthy pour in to the pot. Don't bother measuring.)
-Nestle the pork into the veggies. Pour about 3 cups of diced tomatoes over and around the meat. You want the liquid to be 1/2 to 2/3 up the meat.


-Cover the pot and put it in the oven for 3 to 4 hours. Check every once in a while to make sure you don't need to add a little liquid. The meat should be falling off the bone. 
-Remove meat and shred with two forks. Set aside.
-Return pot to stove top over medium heat. Add mushrooms and another 2-3 cups of tomatoes and/or tomato sauce.
-Cook for 15 minutes or so. Season to your taste.
-Serve pork and sauce over pasta, rice, cous cous, etc...

PS: My children who can be a tad picky loved this meal. They barely noticed all of the meat and veggies covering their noodles.

Monday, April 4, 2011

Vermicelli Noodle Bowls

Kara had a friend over on Saturday night and since they were watching "Mega Mind" (very cute, by the way), Dave and I planned to have a civilized adult dinner together. I had originally wanted to make Bi Bim Bap since it is both fun and easy to eat while watching the Final Four, but I basically forgot to make the rice. Luckily, I had recently made a trip to the Asian supermarket and purchased rice vermicelli noodles.

I love love love Vietnamese food of all kinds, but I can never pass up the vermicelli bowls when we eat out. So in the gluten free spirit, we whipped up a home made version. They were delicious. The basic idea is to top a bowlful of noodles with chopped vegetables, meat if you want, cilantro and mint chopped. Then you douse the whole thing with nuoc cham sauce.  Here is a basic recipe. I also added a diced serano pepper and some chopped garlic to the sauce. It got a little toasty.


We topped our noodles with diced cucumbers, shredded carrot, daikon, mint, cilantro and some left over pulled pork I had in the freezer. Once you have all the veggies prepped, it is easy to recreate this meal on day two.

Thursday, March 31, 2011

A Confession

I am a little embarrassed to admit this but...

I have been going wheat free for the past week.

That was a little anti-climactic, right? But I feel a little silly following what has become a trendy diet, especially since one of my best friends and my niece have celiac disease and therefore go gluten-free without the luxury of going back on the wheat when the experiment is over.

Despite my aversion to any diet that requires eliminating a food group, I decided to give this a shot - not for my waistline, for my knees. A friend in my book group eliminated wheat and sugar as part of a "cleanse" as she called it. She found that she felt so much better generally. Specifically, she found that her tennis elbow was greatly improved. It turns out that some people are particularly sensitive to the inflammatory effects of eating wheat products which can exacerbate joint pain. (No, there is no hard research on this, just lots of anecdotal evidence proliferating the webosphere.) Obviously, my friend's relief of her elbow pain could also be correlated to the more traditional treatments she had been using, but the post-gluten improvement was significant nonetheless.

Having suffered from knee pain with no obvious structural cause and no significant improvement after lots of physical therapy and cortisone injections, I decided to give it a try. I am so desperate that giving up wheat seems like a small trade off when I consider the possibility that I could both go for a run and walk down the stairs the next day.

 I actually find that I don't miss wheat all that much yet. The biggest difference is that eliminating wheat also eliminates a ton of the snack foods my kids regularly eat. No more nibbles on animal crackers, teddy grahams, Cherrios which is all to the good. Since the vast majority of processed food products contain wheat, a gluten free diet tends to lead you back to more wholesome foods.

Last night I cooked Trader Joe's brown rice fusilli pasta and mixed it with sauteed onion, red pepper, asparagus, baby spinach, chunks of fresh mozzarella and lots of olive oil. Did the noodles taste like "normal" pasta? No. But they were pretty much indistinguishable from wheat noodles. It was a delicious dinner that didn't leave me feeling deprived at all.

(Dave is along for the ride, though he has a pretty big loophole in the name of beer consumption.)

Wednesday, March 23, 2011

Risotto - Easy Peasy

A few months ago, I read a post on Dinner a Love Story about using leftover risotto to make cheesy rice patties. Luckily, Jenny included her go-to recipe for risotto. As I read it I thought, "I should make risotto." I even went so far as to buy Arborio rice (bulk at Whole Foods). No sooner had I put the rice away in my pantry than I forgot all about risotto.

Maybe because it was cold and damp yesterday...

Maybe because I felt like making something nice for Dave after he had a crappy day...

Maybe because I was entertaining fantasies of my children eating rice..
(What kind of person rejects rice for gods sake?)

...Last night I made risotto. It was amazing. So good that I wondered out loud, "Why don't I make risotto every night?" To which Dave replied, "I have no idea!"

I followed Jenny's recipe from DALS. But now that I have made it, I don't think I would consult a recipe again. It's that easy. And to dispel a risotto myth, you don't have to stir constantly. I managed to wash a few dishes and get the frozen green beans out etc. Although if you have a older kid around, you can put him/her in charge of stirring. Just think of what you could accomplish?

In case you are intimidated by risotto, let me break it down for you:

-Get out your 4 cup Pyrex pitcher. Add 3 cups stock and 1 cup milk. Or just use stock. Warm it up in the microwave for a few minutes. It should be hot but not boiling hot.
-Melt a pat of butter and some olive oil in a heavy sauce pan.
-Add finely chopped onion, garlic and/or shallots to season the fat in the pan. (I added some chopped mushrooms too.
-Add 1 1/2 cups Arborio rice and stir until the kernels glisten.
-Add a glug or two of white wine if you have it. Stir for a minute.
-Start adding stock/milk about 1/2 cup at a time. Stir until the liquid is absorbed. Repeat. You may need to add more than 4 cups of liquid. If so, you can put in some water or more stock.
-Once your rice starts to look creamy start tasting until it is as soft as you want it.
-Add salt, pepper and a lot of Parmesan cheese.

Unless you are like my wacko kids, you will love this. One of the best things I have cooked in a long time. I can't wait to try the day two risotto cakes. Yum.

Two more takes on risotto:
Mark Bittman's Laid Back Risotto
Three Many Cooks Spring Risotto

Monday, March 21, 2011

Comfort Dinner

One of the first things I ever made from the Pioneer Woman cookbook was her "Comfort Meatballs." On her site they are called BBQ Meatballs which is an equally apt name. The story goes that a friend of the family brought Ree these delicious meatballs after she had just come home with one of her babies. This story inspired me to make this dish for several of my friends to nourish their postpartum cravings. Our friends Filip and Juliane welcomed their third child this month, and in his honor I whipped up this recipe again. And if you are going to make one batch of balls, you might as well double the recipe. (Insert ball joke of your choice here.)


Pioneer Woman's recipe can be found here. One of the great things about this recipe is that it can easily be gluten free because she uses oats instead of breadcrumbs. If you are cooking for a GF family, just omit the step of dredging the meatballs in flour before frying them. You can skip it even if you aren't eating GF, they come out just fine. Also, these meatballs freeze really well. If I am giving a batch away, I just brown the meatballs, place in a tin foil tray and cover with sauce - no need to bake. Just tell the lucky recipient to thaw and bake at 350 for about 30 minutes. Finally, these meatballs are perfect with mashed potatoes. I have also had them over rice, quinoa and with cheese in a panini.

Friday, March 11, 2011

Asian Flavored Chuck Roast

As a result of my meat order this winter, our freezers are overflowing with large hunks of meat. Lots of chuck roast and pork shoulder in particular. My favorite thing to do with these cuts is throw them in the slow cooker. Dave makes a fabulous pulled pork which I hope he will post about the next time he makes it. I have a couple of go-to recipes for chuck roast. One of my favorites, chuck roast with root vegetables is from the Food Network. It has a sweet, almost barbecue taste and you can use the left overs for bi bim bap, burritos, lettuce wraps or just serve them over cous cous. Last year I discovered an Asian flavored slow cooker recipe for chuck roast. Sadly, I didn't print it out, and after about 20 minutes of searching the web, I couldn't find the one I used previously. I decided to forge ahead and make it up. I live on the edge, it's true.

In a slow cooker, add
  • 1 large onion chopped
  • four cloves of garlic chopped
  • 2-3 inches of ginger root peeled and roughly chopped
  • 1 cup soy sauce
  • 1 cup stock (I used chicken but beef or vegetable would work fine.)
  • 2 tbsp fish sauce
  • 1/2 cup brown sugar
  • 1 tsp Chinese five spice powder
  • Hot sauce to taste
  • 1 chuck roast covered in salt and pepper. The one I used was about 2 lbs.
Cook on high for 6 to 8 hours or until meat is falling apart to the touch. Shred with 2 forks, spoon some cooking liquid on top and serve with noodles, rice, stir fry etc.

Monday, March 7, 2011

Rice and Eggs - The Classic Brinner

When I was growing up, one of my mother's classic breakfast, and sometimes dinner, dishes was rice and eggs. Using the left over rice from Chinese take-out, my mom could whip up a delicious meal. (I realize as I am writing this that I don't know what the origin of this meal was - Mom, if you are reading, fill us in.)

Now that I am a mom,  I come back to this "recipe" time and again. Not only does it taste great, it reminds me of my mom and how much I loved when she made this for me as a little girl. Beyond nostalgic reasons to love rice and eggs, I also love that it is easy, healthy and my kids will eat it. In fact, when Jamie was about a year old, he would eat rice and eggs, with some vegetable thrown in, just about every day for lunch.

Last night Dave was out for dinner, so of course Kara requested brinner for dinner. I was happy to oblige. The kids had waffles and eggs and I had a delicious plate of rice and eggs. In this iteration of the meal, I added some red peppers, chopped spinach and green onions. And though left-over Chinese restaurant rice works best, I had to settle for the brown rice hiding in the back of our refrigerator.

Here is the "recipe" - a term I apply loosely. I generally use 2 eggs per adult and 1 per child. You do the math.
  • Beat eggs with a little milk/water. Set aside.
  • If you are going to add veggies or meat, get them ready. I recommend finely chopping any additions.
  • Get the rice out. If it is really dry, like the kind in a take-out container, microwave it for a minute to soften it up.
  • In a frying pan melt enough butter to thoroughly coat the pan. Don't be shy. If using veggies, saute for a few minutes. Add the rice. I use about 1/4 cup per egg. Saute for a few minutes until rice is warmed through.
  • Add eggs and scramble. 
  • You can throw in some cheese at the end if you are in to that kind of thing. 
  • Serve alone or with anything that you might put with eggs: ketchup, salsa, hot sauce, bbq sauce. Personally, I love it with mango chutney. But I am a freak.

Tuesday, March 1, 2011

Crispy Quesadillas


As I have written about previously, I love quesadillas. They are the easy and nutritious. They are universally loved in my house. And they are an opportunity to use up the dribs and drabs of leftovers in the fridge.

For my lunch today I tried a new spin on the traditional quesadillas that we make here, and the results were delicious. Instead of using a wheat tortilla (from Trader Joe's) and folding it in half, I used two small corn tortillas (also from TJ's). Just a quick note: read the ingredients before you buy tortillas - my friend Val had the disturbing experience of realizing that the corn tortillas she bought contained a slew of chemical ingredients. What the hell? Anyway...back to my lunch. Here's how I built my super crispy quesadilla:

Tortilla
Slice of colby cheese since that was what was in the fridge
A couple of tablespoons of black beans because that was what was left in the Tupperware
A scoop of brown rice left from our bi bim bop feast on Saturday night
A few spinach leaves that were too wilty to eat in salad at this point
A dash of onion, garlic and chipotle powders
Another slice of cheese
Tortilla

I cooked it up in my cast iron skillet and put some salsa and sour cream on the side. I happened to go to Whole Foods to buy oats  for our overnight oatmeal today and picked up a little container of salsa fresca - so good. (BTW: Bulk oats are $.99 a pound which is a great deal.) Corn tortillas get nice and crispy on the skillet, and they are the perfect size for one serving. Also, the rice added a little substance to compensate for the small amount of beans that I had on hand.

I have just decided that this is what we are having for dinner. I suspect that Dave will add pickled jalepenos to his. Kara might want some chopped red pepper with the beans and cheese. I may go crazy and spread the last of my homemade ricotta on mine. Can't wait.

Wednesday, February 16, 2011

The Dinner That Sealed the Deal

Ok, Valentine's Day has come and gone, but here is a little piece of our love story. (Don't worry, it is brief and definitely G rated.)

Back when Dave and I first started dating, he lived in Washington DC and I lived in Philly. Every weekend one of us would make the trek up or down the I-95 corridor to see each other. When I went down to DC our weekends often involved going out with friends on the Hill and then recovering from going out with friends. (We were a lot younger then.) And though we ate our fair share of wings, mozzarella sticks and burgers at our favorite haunts, Dave would, on occasion, cook for me which was no small feat in his tiny apartment on Capitol Hill that was not exactly equipped for culinary acts much beyond frying eggs. I suspect he was trying to impress me with his domestic skills and demonstrate that he was a man of substance and maturity. All of this was just icing on the cake as far as I was concerned. He "had me at hello," so to speak.

One of the first things Dave ever made for me was the hamburger stroganoff that he learned to cook from his mom. I have a strong suspicion that this recipe was originally from the back of a Campbell's soup can.  (Alice - If you are reading, please let us know for sure.) It is the best kind of comfort food. Rich, creamy, easy to make, and thoroughly satisfying.

Dave made this for us on Saturday night and when Kara asked him what he was cooking, he told her that this was the first meal he ever cooked mommy. And he was pretty sure it sealed the deal.

Here's the recipe from Dave:

  • Chop one medium to large onion
  • Slice about 10 or so good sized mushrooms
  • Finely chop 4 or so cloves of garlic
  • Saute the onion, mushrooms and garlic in olive oil until the mushrooms are tender and the onions are getting translucent
  • Put onions and mushrooms aside
  • Brown one pound of ground beef in the same skillet
  • Once the beef is browned add back in the mushrooms and onions
  • Mix in 8 ounces of sour cream
  • Mix in one can of cream of mushroom soup
  • simmer on low heat for about 20 minutes.
  • Serve over your favorite kind of egg noodles
By the way, Dave wanted me to title this post "Sick Food 2: Electric Boogaloo," but I decided to go the romantic route instead.


After many many attempts, we are convinced that it is impossible to take a photo of this dish that looks appetizing. Trust me - this tastes fabulous. It just looks kinda gross.

Monday, January 31, 2011

The Minimalist's Exit

Last Thursday, Mark Bittman who writes "The Minimalist" column for the New York Times announced that he would be exiting the Dining section of the paper. In his farewell column, Bittman discusses the history of the article and announces that he will now be a regular contributor to the Opinion pages where he will explore the politics of food in our nation and the world at large.

I love Bittman's columns, and his cookbook, How to Cook Everything, is one of the most-used references on my cookbook shelf. (A great gift for any cook at any level.) He is the master of the non-recipe recipe, focusing on basic techniques and ingredients that all cooks can use to produce good food.  I also love the fact that Bittman uses his platform to unabashedly advocate for more sound eating habits (less meat, less processed food, more locally/sustainably produced food). I can't wait to see him in his new role at The Times.


A few Bittman links for your cooking pleasure:
The Minimalist's 25 Favorite Recipes
101 Grilling Recipes
101 Summer Recipes

Friday, January 28, 2011

Skillet Dinner - Hearty Winter Pasta


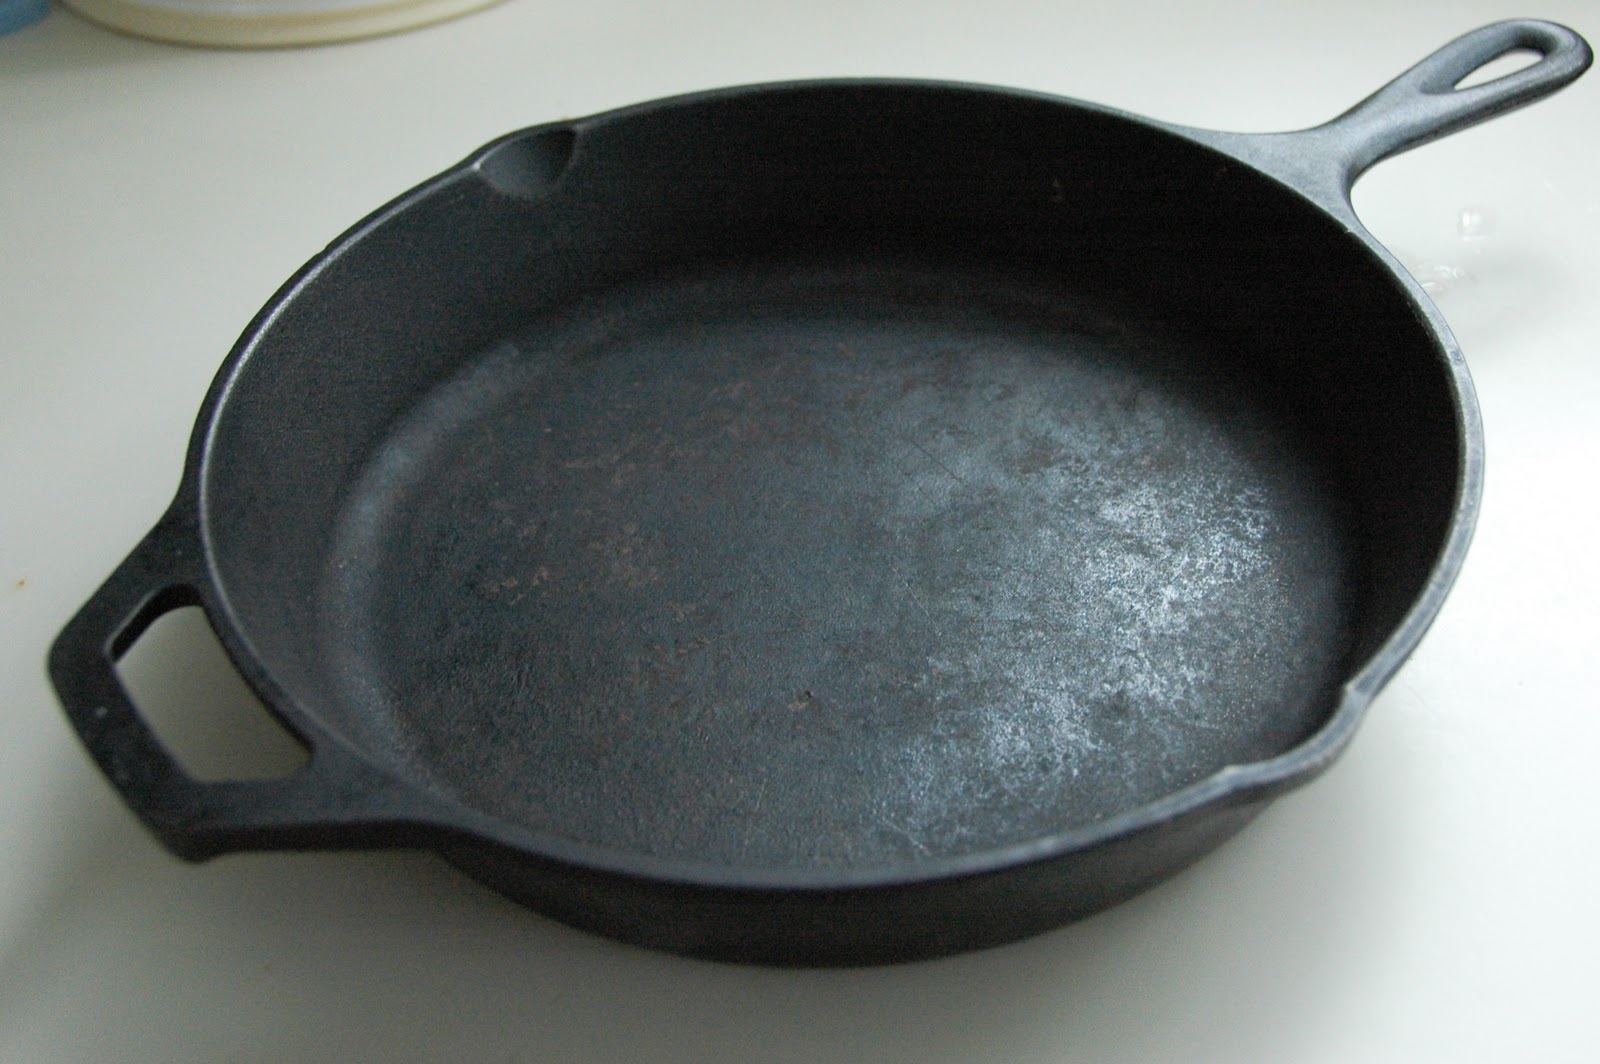
For the past two years, Dave has given me cast iron skillets for Christmas. (He even planned a "fake out" both times by wrapping a box with a note that said, "Look in my closet" where he had cleverly hung the skillet in with his clothes.) I now have a 9" and a 12" pan. Now this may not sound especially romantic, but these are some of my favorite presents. I consider myself a pretty good cook with a pretty well-stocked kitchen when it comes to the basic tools. But for years, my lack of a cast iron skillet was a gaping hole in my culinary collection. (Yes, I am so cool I actually consider the state of my culinary collection.)

Now that I have not one but two skillets, I'm not sure how I got along without them. A cast iron pan is great for searing or browning meat, sauteing vegetables, making crispy quesadillas or toasty paninis, frying up French toast, potato latkes and just about anything else you can think of. One of the great advantages of a cast iron skillet, in addition to its ability to heat up fast and stay very hot, is that you can put it right in the oven to finish off whatever it is you started on the stove.

By the way, if you are thinking of getting your own skillet, don't hesitate. You could certainly go all out and buy the super pricy Le Creuset variety, but there are several other manufacturers that make really good cast iron cookware. Lodge is the brand I have and it was very reasonably priced and works great.


Last night I decided to make a chicken pasta dish. I wanted to use some of the meat in my freezer and I had bought some kale at the store and Valerie assured me that chopped kale would go great in pasta. And by "go great" she meant my kids would eat it without complaining about the green stuff on their noodles. Here is what I did:
  •  Preheat your oven to 350. Put a pot of water on the stove and cook about 1/2 box of rotelli or other small pasta. I had this half used box in my cabinet, but shells, macaroni noodles or bow ties would be great too.
  • Chop up 3 or 4 garlic cloves, half and onion, a handful of mushrooms and a few big kale leafs. Remove stems of kale first.
  • In a cast iron or other oven safe skillet heat some olive oil and cook 2 chicken breasts for about 4 min per side. You just want to sear them; they don't need to be cooked through. Remove from pan and set aside.
  • Re-oil and add a can of diced tomatoes. (I used about 2 cups of frozen tomatoes from the summer -- another reason my freezer is overflowing.) Cook for about 5 minutes until it starts to thicken. Add chopped kale and cook until wilted. remove from pan.
  • Re-oil the pan and add onion, mushrooms and garlic. Saute until they are just about cooked, deglaze the pan with some red wine if you have it sitting on your counter, and add the kale mix back to the pan.
  • Add the cooked pasta and about a cup of spaghetti sauce. I also added some chevre because it was about to go bad in the cheese drawer. Soft cheese (chevre, marscapone, farmer's cheese, cream cheese, ricotta etc.), sour cream, half and half all will make for a creamier and richer sauce. It will also cut the acid of the tomatoes. Totally optional addition, but worth it, I think.
  • Return the chicken to the pan and nestle it into the pasta. Sprinkle with shredded mozzarella cheese. Bake for about 20 min until cheese is bubbly.
Don't skimp on the cheese!

 This was so delicious. A very hearty winter pasta. And this "method" of cooking was really fun - I would like to give it a try with rice instead of noodles, or maybe bulgar or quinoa. I am also happy to say that Val's prediction about the kale was mostly true. I gave Kara fair warning that there would be green things in her noodles and politely requested that she keep an open mind. She wasn't a huge fan of the pasta, but she ate a good portion of it - complaint free, too. Jamie, predictably, was not bothered by the kale. Noodles are noodles in his book, I guess.