
So one of my new year's resolutions was to eat less meat. You may be wondering why, if this was the goal, every inch of freezer space in my house is filled with chicken, pork and beef. It turns out that eating local trumps the less meat thing, at least for the moment.
For the second year now, my dear friend Valerie, who is a supermom and "locovore" extraordinaire, organized a meat buying club or sorts. Val has befriended a farmer in Lancaster County and buys eggs and produce from him regularly. Now, with ten of her friends, we have become big buyers of his meat supply. Bob, the awesome farmer in question, sold us a pig and a half and a whole cow, butchered it, packaged it all, and even loaded Val's minivan. Last Friday, Val's living room was entirely covered in frozen meat. Without an ounce of irony, her friend David pronounced, "It's like a meat locker in here."
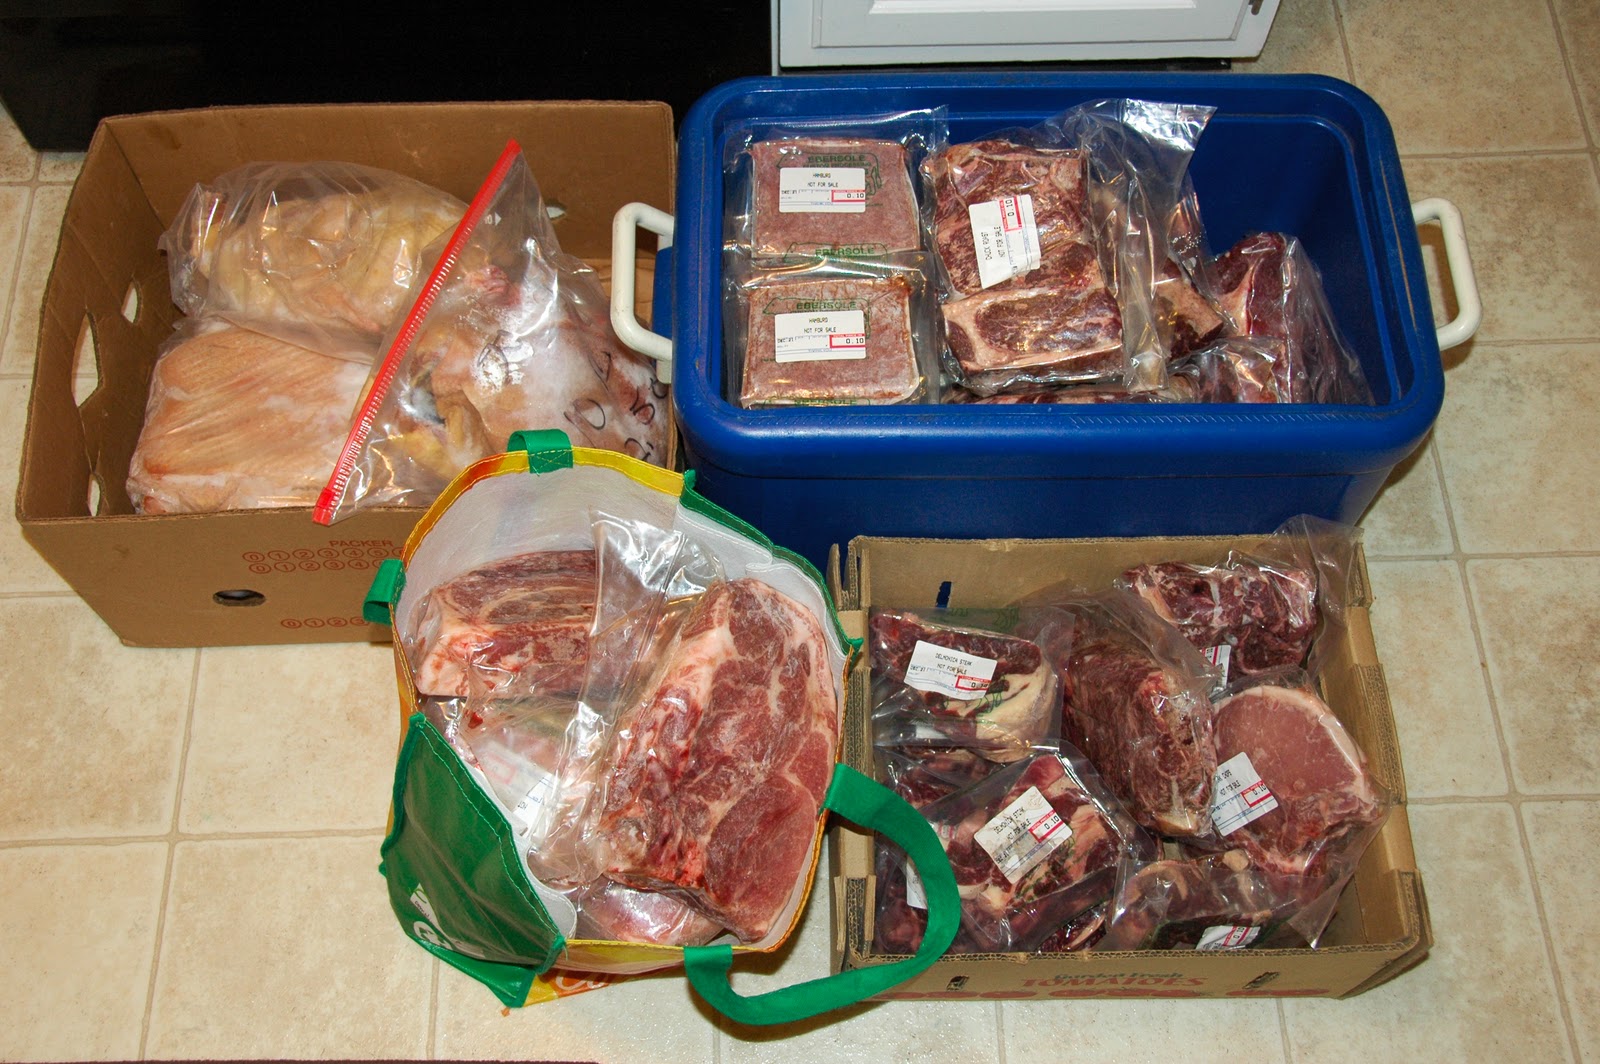
I stupidly forgot my camera when I went to help sort out the meat into individual orders, but here is what my portion looked like when I got it home. That's $300 plus worth of locally-produced, humanely-raised chicken, beef and pork - an unbelievable price for so much high quality food.
Yesterday afternoon I roasted one of the chickens. It was so delicious and yielded a ton of leftovers. (I froze a quart bag full of meat and still had a large Tupperware to use right away.) Next to having the leftovers, I think the best part of roasting a chicken is you get to have a mini Thanksgiving dinner. I made sweet potatoes, stuffing, peas, cranberry sauce that I had preserved in November, and I even whipped up real gravy.
There are many methods to roasting a chicken, here is what I do and it never fails.
- Preheat your oven to 450.
- Take the bird out of the refrigerator and place it in a roasting pan. Remove any giblets, neck etc, and let it come up to room temperature. (True story: The first turkey I ever cooked, I forgot the critical step of taking the giblets etc. out of the body. Yum!)
- In a small bowl combine a few tablespoons of softened butter and spices of your choosing. The classic poultry mix of sage, rosemary, thyme, parsley always works, but you could go spicy, or Mexican, or even Asian if you wanted.
- Pat the chicken dry and sprinkle with lots of salt and pepper. Now slather that bird with your butter/spice mix. Don't be shy with the butter. Make sure to get inside, too.
- If you have it, put a lemon half and a quartered apple inside.
- Use string or skewers to bring the legs in tight to the body of the chicken.
- Put it in the oven and after about 30 min check to make sure the top isn't getting too brown. If it is, just cover it with tin foil. This is also a good time to pour some chicken stock over the bird and into the pan.
- Lower the heat to 350. Check on you chicken every 30 min or so and use a meat thermometer to check if it is done. This is always a little hit of miss for me since I have 2 thermometers that never read the same. I looked it up and the common rule seems to be 20 min/pound. Take that, and all other cooking rules, with a grain of salt. Also, remember that the meat will continue to cook out of the oven, so don't overdo it.
- A tip: If you cook this early in the day to serve for dinner, you can warm up the meat very, very briefly in the microwave. Or if you are nervous that you will turn your gorgeous chicken into disgusting rubber, pouring hot chicken stock over carved meat works really well.
- Heat some chicken broth. Pour juices from roasting pan into a gravy measuring container, a pyrex measuring cup or ziploc bag. Put a few tablespoons of fat and a few tablespoons of butter into the roasting pan over medium-high heat.
- Add two-three tablespoons of flour, depending on how much gravy you want to make and how much pan juice you have. Whisk the flour and fat mixture. Now add the rest of the juices from the pan. If you used a ziploc, cut a small hole in the bottom to release the juice not the fat. I am typically too lazy for that, so I just skim the fat off the top of what it in my measuring cup and pour the rest in the pan.
- Add stock a little at a time and whisk to scrape up the drippings in the pan. At this point you could pour the gravy into a pot. I use my cast iron skillet. Keep adding stock until you get the thickness/flavor you are looking for. I also throw in another pat of butter at the very end - gives it that extra boost of flavor.
- I know this doesn't seem "easy" exactly, as it requires several pans and lots of whisking, but it is SO worth it. If you make way too much, just freeze it for the next time you need gravy on something.
Too much beef!
ReplyDeleteMy pleasure! Minus the day of crazy stress that comes with the sorting and delivery/pick-up--it really does bring me joy to do it. Everyone wins!
ReplyDelete